This Model Railway depicts BHP Billiton's long iron ore railway from Port Hedland to Newman.

Monday 11 June 2012

Staining all round

Both the roof and the actual building are now stained, making it look less like a newly constructed building, and more like a dark woody coloured frame, although the outside parts will be covered in wooden boards.

What you can see in the next picture is not just a big mess (the stain melted away the styrofoam i sit my wood on, so using it creates nice long brown trenches), but several of what will become the wooden boards of the little shack that will be placed in my Newman and Port Hedland Iron Ore Railway. No, these are not scale 2" x 6" wooden boards or even 1" x 6" wooden boards, but paper, cut into thin strips and stained. These paper boards are what will cover the side of the little shed. They are stained now so that when they are viewed from the inside, it will not show their paper origin.

Tuesday 5 June 2012

Little wooden removable roof

The frame of the removable roof is completed! All it took was plenty of patience, plenty of glue, and a camera, which i not only used to take the following pictures, but as a weight to hold the long bars of the roof in place. No, the camera was not simply plonked onto the little structure, but was placed onto a small nail which was balanced on the end of the long bars to hold it down while the glue dried.

Anyway, here is the progress:

The triangles and the long bars attached - you wouldn't believe how fiddly those triangles are!

Finally - placed on the house. It's far from perfect, but it'll do for a first time scratchbuilder!
I had to leave minor gaps on each end to ensure that the roof would be able to lift off without grading and catching on either side. Next: the wooden boards on the walls

Saturday 2 June 2012

Construction in (slow) progress

Yes, i am still working on the little speeder shed, just very slowly. Part of the removable roof has been completed. The scale 2" x 4" cross beams have been cut to length and glued into seven little triangles to place on the roof.

Cross beams measured to 3.5cm...


The 3.5 cm long hypotenuse to the triangle:

A triangle!


Then seven:
All ready to be made into the removable roof.

Plastered paper mountains

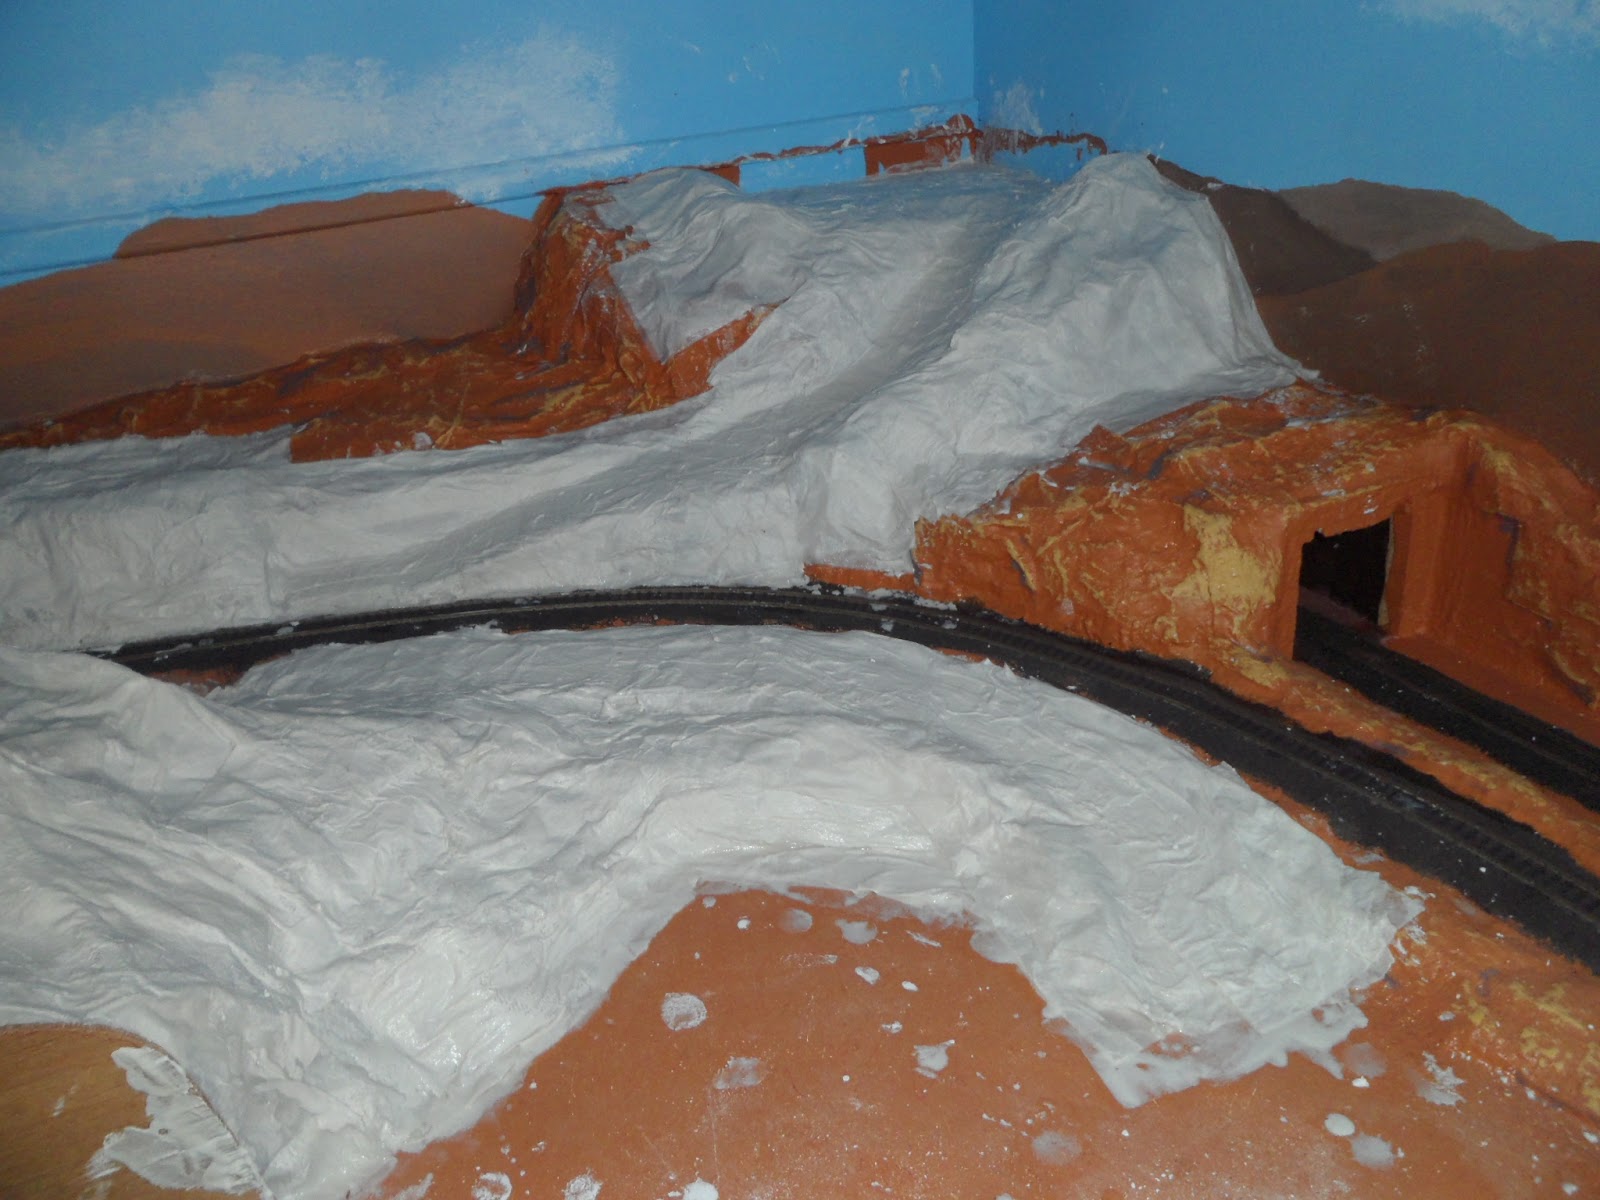
The plastering has been completed! But instead of using Woodland Scenics plaster cloth like i did for the rest of the mountains, i decided to save some money by using plaster of paris and paper towel.

I started with paper towels, dipped them in a watery mix of plaster and water, and spread them over the mountain shapes


You can see the road leading to the lookout clearly with the plaster cloth added:


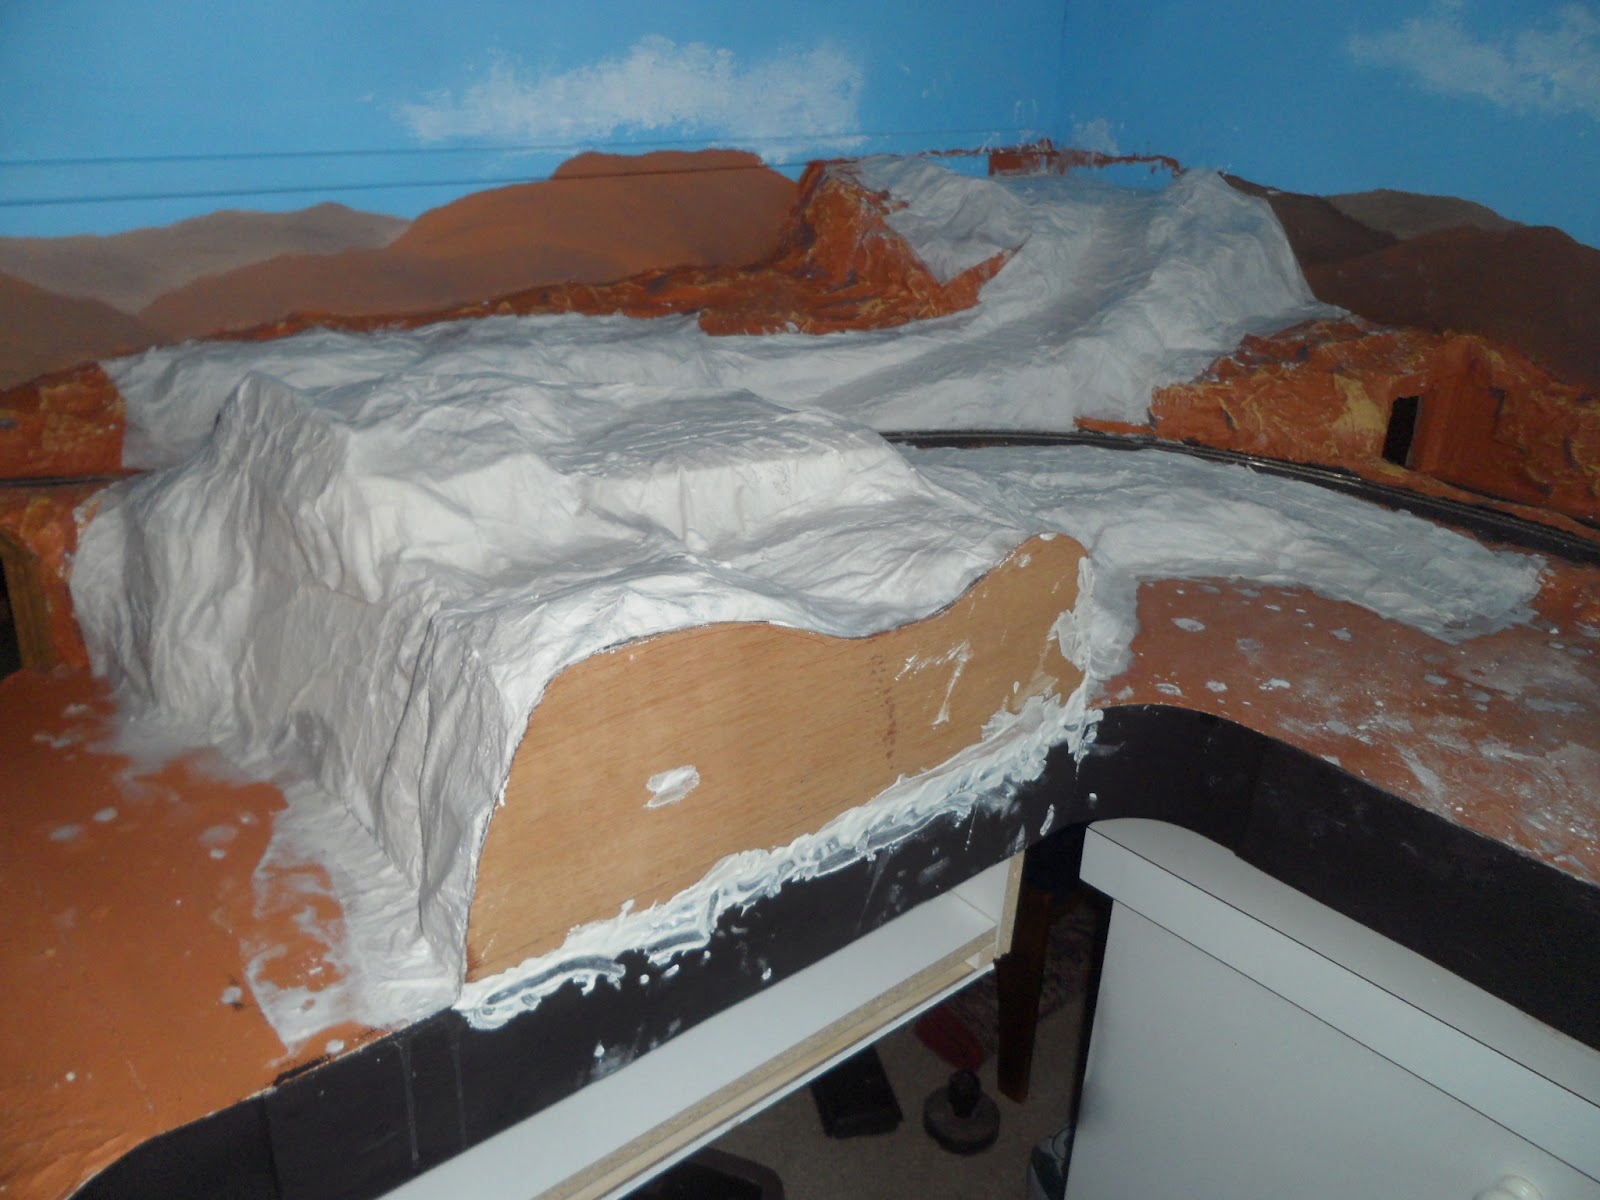
You can see (in the picture below) that i covered the crack between the black fascia and the new unpainted fascia with plaster. This is to fill in the gap, any excess i can sand off later so that when i paint it, it looks just like one big board.


As you can see, there is plenty of excess plaster to clean up:


The next job: cleaning up the plaster